Your Bike, Your Blueprint: How Pro BMX Riders Build Their Perfect Machine
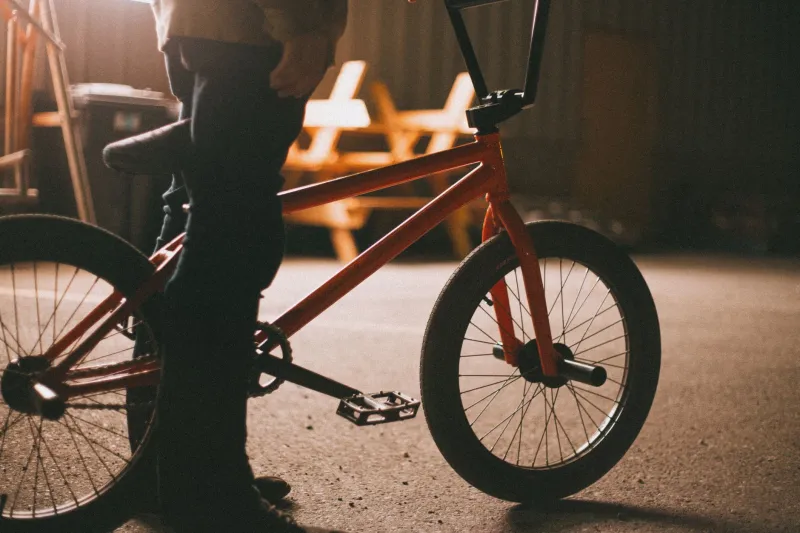
There's a moment every serious BMX rider knows — you're standing in the shop, or scrolling through a parts site at midnight, and you realize the stock build just doesn't feel right anymore. The bars sit a little too low. The sprocket ratio feels sluggish coming out of a turn. Something's off, and you can't un-feel it. That's when the real work starts.
Customizing a BMX setup isn't just a hobby for pro riders — it's practically a second discipline. The time they put into dialing their bikes is rivaled only by the hours they log at the park or on the streets. And the choices they make, right down to the diameter of their grips or the angle of their stem, reflect something deeply personal about how they see BMX.
It Starts With the Frame
Every build conversation begins with geometry, even if riders don't always use that word. Frame size — specifically top tube length — is the foundation everything else gets built around. Most street-focused riders in the US tend to gravitate toward longer top tubes, somewhere in the 21 to 21.5-inch range, because it gives them more stability when they're grinding rails or throwing big gaps. Park and flatland riders often go shorter for tighter, snappier control.
But it's not just about length. Chainstay length, head tube angle, and bottom bracket height all interact in ways that can make or break a setup for a specific style. A slacker head angle gives you a more relaxed, stable feel — great for big ramps and vert. A steeper angle puts the front wheel closer and makes the bike react faster, which street riders often prefer when threading through tight urban spots.
The point is, none of this is accidental. Pro riders work closely with their brand's engineers when they're on a signature frame, and even amateur riders who buy off-the-shelf spend serious time researching which geometry matches their riding before they commit.
Bars and Stems: The Control Center
Ask any experienced rider what the biggest game-changer in their setup was and a huge percentage will say their handlebars. Bar height, width, and backsweep all affect how a rider sits on the bike and how much leverage they have when throwing tricks.
Taller bars — we're talking 9.5 inches and up — have become increasingly popular among street and park riders who want a more upright stance and extra pulling power for barspins and whips. Riders who came up on older, lower setups sometimes struggle to adapt, which speaks to how deeply personal these choices become over time.
Stem length and rise play into this too. A shorter stem brings the bars closer and raises them slightly, which tightens up the front end. Some riders run virtually no rise in their stem for a slammed look and feel, while others stack spacers to get the bar height exactly where their body wants it.
Sprocket Ratios and the Feel of the Drivetrain
This is where things get technical fast, and where a lot of newer riders leave performance on the table. The gear ratio — the relationship between your front sprocket and rear cog — determines how hard you have to pedal to generate speed and how quickly that speed builds.
The most common setup you'll find on the street scene right now is a 25/9 ratio, which offers a nice balance of acceleration and top-end speed without the drivetrain hanging too low and eating curbs. Some riders run 28/10 or even larger setups when they're focused on big open runs where top speed matters more. Flatland riders are a whole different conversation — they'll micro-tune their ratios obsessively because pedal position during tricks is everything.
Mid-drive versus cassette hubs also comes into play here. Cassette hubs are the standard for most modern builds because they're lighter and more durable, but the choice of freecoaster versus cassette is genuinely philosophical for a lot of riders. Freecoasters let you roll backward without the cranks spinning, which opens up a whole vocabulary of tricks — fakie grinds, switch manuals, half-cab variations — that feel clunky or impossible on a cassette. The trade-off is that freecoasters require more maintenance and can feel sluggish engaging on take-offs.
Grips, Pedals, and the Touch Points That Matter More Than You Think
The parts of your bike you actually touch deserve way more attention than they usually get in gear conversations. Grips, in particular, are wildly underrated. Thickness, material, and texture all affect how a rider connects with the bike during a trick. Thinner grips give more bar feel and work better for riders with smaller hands or those who rely on finger control during barspins. Thicker, softer grips absorb vibration and are easier on the hands during long sessions on rough pavement.
Pedals follow a similar logic. Plastic pedals are lighter and won't chew up your shins as badly when you slip, which makes them a go-to for a lot of park riders. Metal pedals with pins offer serious grip on the soles of your shoes, which is crucial when you're pushing hard off the lip of a ramp or stomping a landing on rough ground. Some riders swap pedals depending on whether they're filming a street part or sessioning a park — that level of intentionality is real.
The Philosophy Behind the Setup
What's fascinating about talking to riders and mechanics about this stuff is how quickly the conversation moves from specs to identity. A setup isn't just a collection of components — it's a rider's statement about what BMX means to them.
A tight, lightweight street build with a freecoaster and slim bars says something different than a beefy vert setup with massive tires and a reinforced frame. Neither is wrong. Both are honest. And the best riders in the game understand that the bike should serve the riding, not the other way around.
There's also a practical reality: getting your setup dialed saves you energy and frustration at the spot. When everything feels right, you stop thinking about the bike and start thinking about the trick. That mental freedom is the whole point of putting in the time to customize.
Start Somewhere, Keep Adjusting
If you're newer to the idea of building a custom setup, the advice from most experienced riders is the same: don't try to dial everything at once. Start with the contact points — grips, pedals, seat height — because those affect every single session. Then work your way outward to bars and stem. Gear ratio is worth experimenting with once you have a sense of your style and the terrain you ride most.
And don't sleep on the shop. A good local BMX shop, the kind that actually rides and stocks real parts, is worth its weight in gold when you're trying to figure out what works for you. The people behind the counter have usually tried everything and can shortcut months of trial and error.
Your bike is your blueprint. Build it like you mean it.